Once a week we have a “candle lit” dinner, so we go through a lot of candles at our house. I’ve been thinking of this project for a long time, so when I ended up with about 10 lbs of rendered tallow last week, I had to give candle making a try.
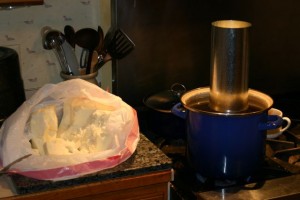
I learned a lot through the process, and I’ve been very pleased with the result. I started with filling my 4″ dipping vat. It’s 15″ tall, and it takes a lot of raw material to fill it. Because I was putting cold pieces into the vat to melt, it took about 30 minutes before it was full and liquid.
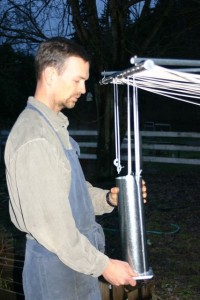
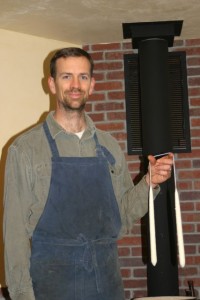
I tied 1/2″ bolt washers on the end of the wicking to hold things straight during the first few dips. Of course the wax was very hot when I started, and because of that, most of it just drained off when I started. 150 degrees F was good to melt the pieces, but is too hot to leave much behind on the wicks. By the time I finished, I decided that 115 degrees is about the right balance between a smooth layer and a fast set on the wax. The air temperature outside was 42 degrees, and I think progress would have been faster if it was below freezing.
I cut off the washers after the candles were about 1/2″ thick. This also let me get the candles further into the vat.
A change for next time will be for me to have a pot of melted wax on hand to keep the dipping vat full. It wasn’t much of a factor for my first run of 6 candles, but the level in the vat went down enough so that the top of the candles were narrower than I would have liked.
These were lumpy because I was testing how far down I could go with the temperature. At 105 degrees, the wax was crystallizing quickly. These little lumps stuck to the candle as it was drawn out of the vat, and made for a less than perfect result.
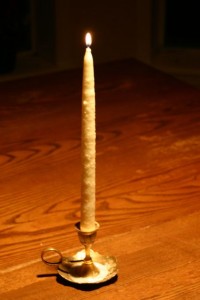
The low melting point of pure tallow surprised me. They didn’t drip at all, and they are quite firm now, but they are not what I would call “summer stable”. On my next run of candles, I’ll be checking to see how much beeswax I need to add to make a higher melting point.


